LEFT FACE B
Left Face B – A Hidden, Adventurous Scramble on Table Mountain
Left Face B is one of Table Mountain’s most rewarding and adventurous front-face routes. Less known than neighbouring classics, it offers a quieter, more rugged line with sustained elevation, scrambling, and open views over Cape Town and Table Bay. For fit, confident hikers who want a direct, hands-on ascent without excessively technical terrain, Left Face B is a standout choice.
Striking Views From Early On
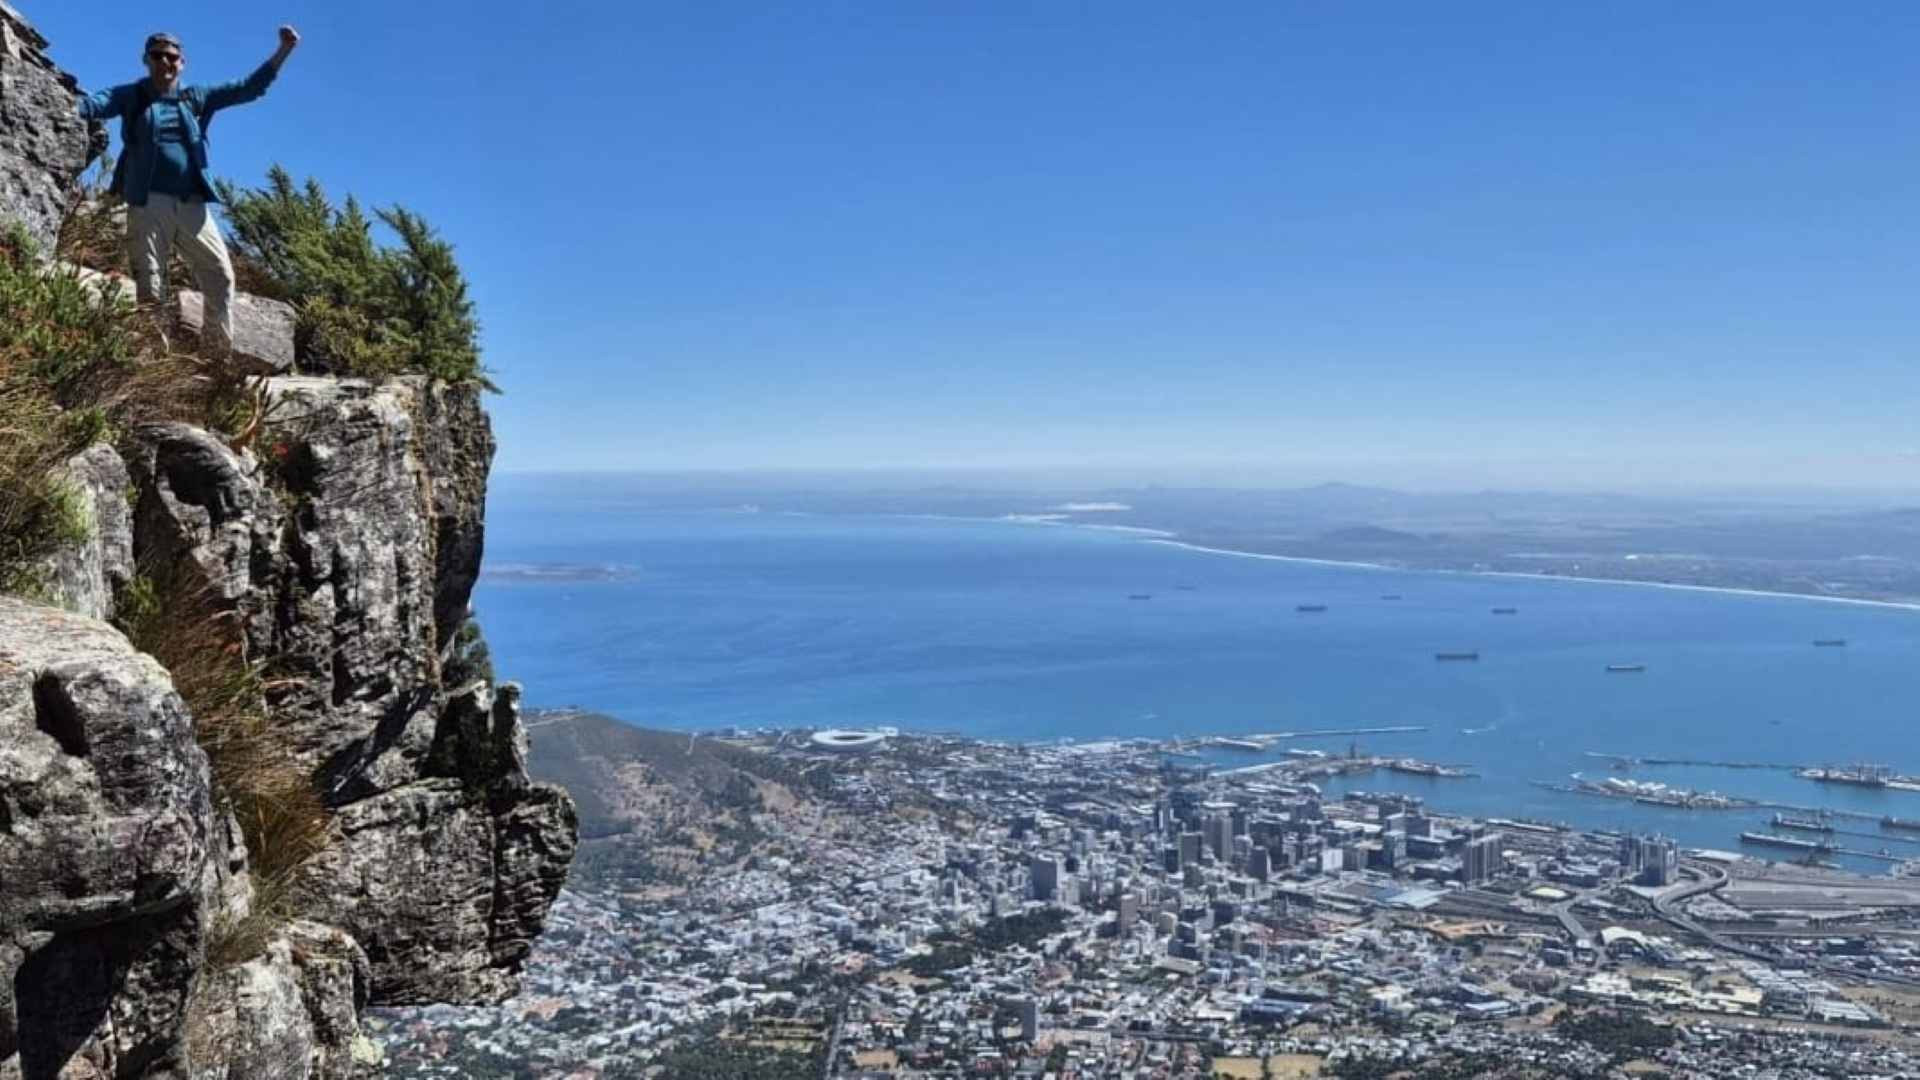
Soon after leaving the busy Platteklip Gorge path, the route breaks away from the crowds and enters far quieter, more dramatic terrain. From here, the landscape opens up almost immediately and remains open for most of the ascent. The views stretch across the city bowl, Table Bay, Lion’s Head, and the shifting coastline below.
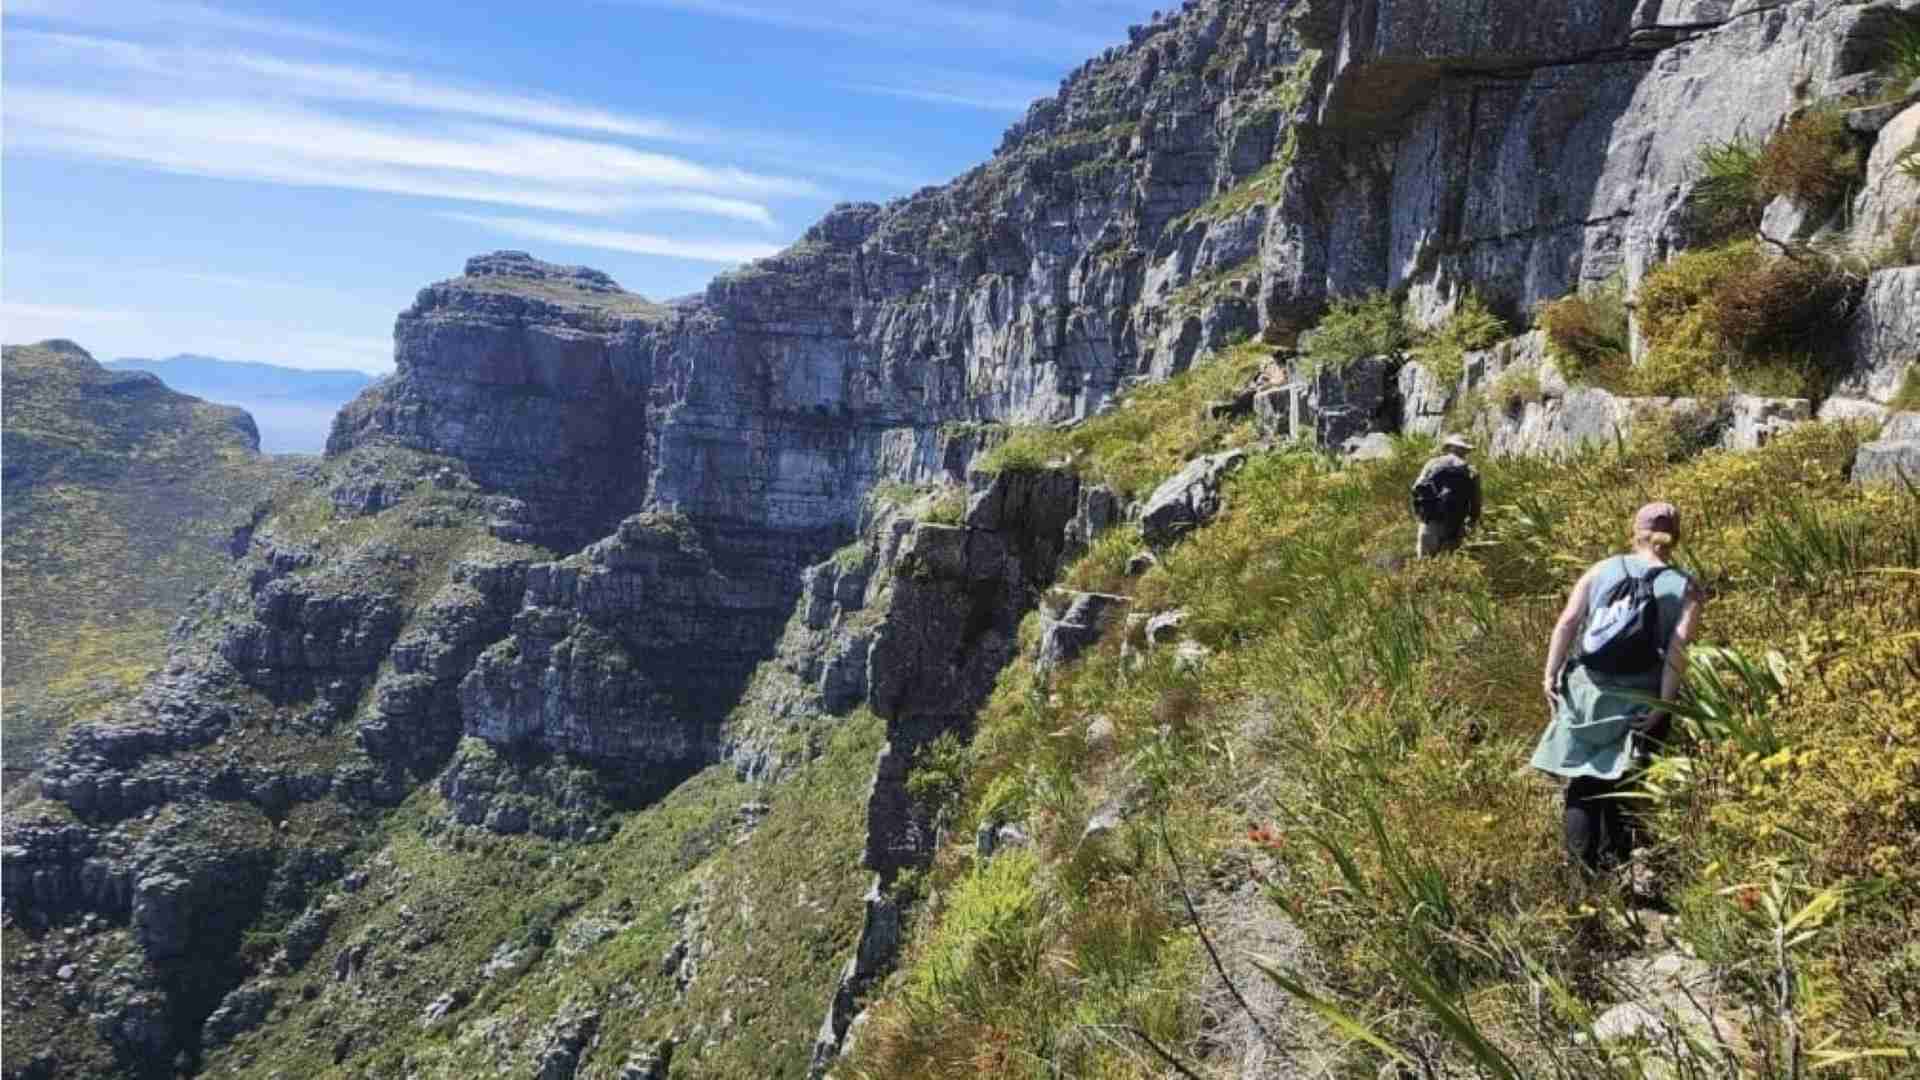
As the route gains height, the surroundings become more defined: rocky ribs, sculpted gullies, and the steep flanks of the mountain towering above. It’s a front-row view of Table Mountain’s geology and structure, seen from a perspective few hikers experience.
Scrambling Sections and Safe Guidance
Several enjoyable scrambling sections appear early in the route, leading into the Left Face Buttress Gully — a steep, enclosed passage that forms the central feature of the climb. The gully is solid, straightforward to follow, and offers fun hands-on movement without technical climbing.
Shortly after the gully, the route traverses an exposed section. The traverse is not a narrow ledge, but it does run alongside a noticeable drop. The footing is good, the movement is simple, and with guidance it is safe — but hikers with a strong fear of heights will find it uncomfortable.
After the traverse, the route reaches a small cave or overhang. This is the most natural and sheltered resting point on Left Face B.
The Upper Slopes and Final Moves
Near the top, Left Face B delivers one last memorable moment: a step-around move around a small rock corner — dramatic-looking but straightforward with proper instruction. It is a popular photo spot, framed by rugged cliffs and open sky.
From here, the route eases off and merges into the upper landscape of Table Mountain. The views widen once more, revealing the city, Table Bay, and the peaks stretching across the Peninsula.
After reaching the top follows a mainly flat table top walk back to the Table Mountain Cableway for a smooth, scenic descent.
Tips and Recommendations
Left Face B gains roughly 700 vertical metres and is best suited for hikers with reasonable fitness who enjoy scrambling and are comfortable with short sections of exposure. The route is not suitable for those with a strong fear of heights.
As with all front-face routes, weather is a major factor. Wet rock makes scrambling and traversing hazardous, and cloud can reduce visibility dramatically. A guided experience provides safety, route-finding, and local insights into geology, flora, and the mountain’s history.
For those wanting something even more challenging and more exposed, the neighbouring Arrow Face Traverse is an optional route that offers a bigger adrenaline punch.
In short, Left Face B is a superb choice for adventurous hikers.
With its mix of steady ascent, hands-on scrambling, quiet terrain, and excellent views, it offers a classic Table Mountain experience on a route that feels wild and personal without being overly technical.
If you’re looking for something off the beaten path, filled with challenge, beauty, and a touch of thrill, Left Face B is the perfect route for you.
A: Moderately difficult. It involves sustained ascent, scrambling, and a short exposed traverse, but no technical climbing.
A: About 5 hours, including rest stops and photos.
A: It is exposed but not extreme. The footing is good, and with guidance it is safe for most confident hikers.
A: No. Guides carry ropes and safety gear for the trickier sections, but hikers only need standard hiking clothing and shoes.
A: No. This is not a clear or well-defined path, and it is easy to get lost. Even with a route description from a guidebook, the trail is rarely used and can be very difficult to follow. This route should not be attempted alone — or even in a group — without the navigational support of an experienced guide.
PRICE
- 1 Person - R3 400
- 2 - 4 Persons - R1 900 per person
* Excludes R295 for a cableway ticket down.
*** PLEASE NOTE: THE CABLEWAY MAY BE CLOSED DUE TO MAINTENANCE OR ADVERSE WEATHER CONDITIONS, IN WHICH CASE WE WILL WALK DOWN PLATTEKLIP. THAT WILL ADD ± 2 HOURS AND R500 TO THE TRIP. WE WILL NOT COMMENCE THE LEFT FACE HIKE IN BAD WEATHER.
